Autumn is a great time for den building – with friends, with kids if you are an adult and for fun if you are an unreformed child-at-heart. The cooling weather and plenty of leaf litter in deciduous woodlands provide a good incentive to practice shelter building and plenty of material to do so. It’s a great way to develop a love for our native woodlands with smaller children, practical construction skills as budding woods-person and a sly way of honing one’s shelter building skills if you are an aspiring bushcrafter or a closet survivalist.
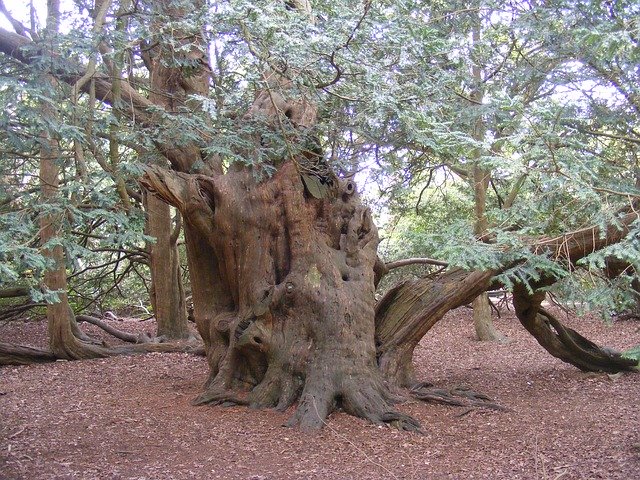
Three questions must be considered before starting to build any den or shelter. What is it going to be used for? How long do you have to make it (or intend to spend making it)? What materials are available in the immediate environment?
This article will focus on some ideas for den building in woodlands; the UK has plenty of woodlands with public access (look for one near you with these links: Woodland Trust or Forestry England) to get you started. With knowledge, imagination and some basic skills a sturdy den can be built in most locations. With practice these can be scaled up into full-blown shelters if you wish. Most importantly one can have great fun working together on a project in the outdoors.

Even with just a short amount of good string (paracord is ideal) some fantastic structures can be produced. However, some of the most rewarding dens to build are those that require nothing other than what can be found in the woodlands.
There are broadly two types most suited to the woodlands: ‘lean to’ or free-standing structures. The first are easiest to build and require little additional kit, the latter require a bit more knowledge and critically the short piece of string mentioned earlier. We will concentrate on lean to structures for now.
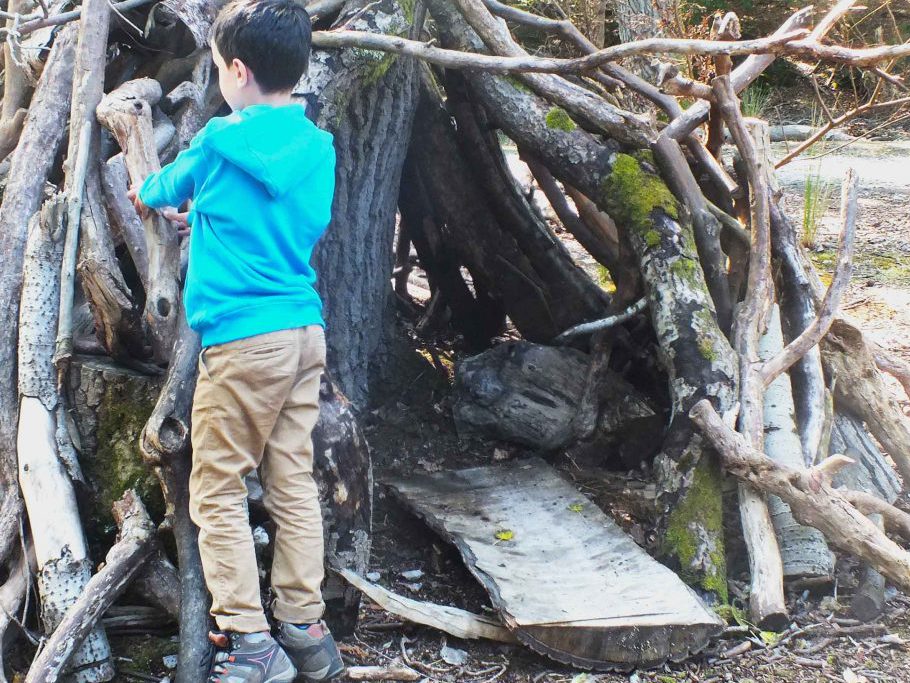
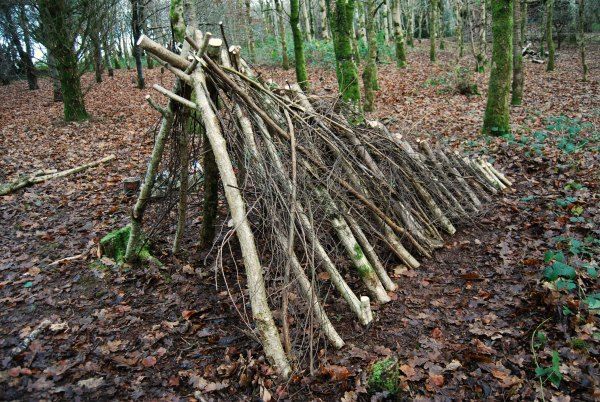
The clue about the type of structure involved in a ‘lean to’ is very much in the title! The den in essence is built leaning against some form of solid object and using gravity and the weight of the material to hold it all together. The solid object provides the main means for holding up the roof of the den. This could be in the form of a large fallen tree or boulder, upturned wind-fallen tree roots or the crook in between the trunk and a branch of a tree.
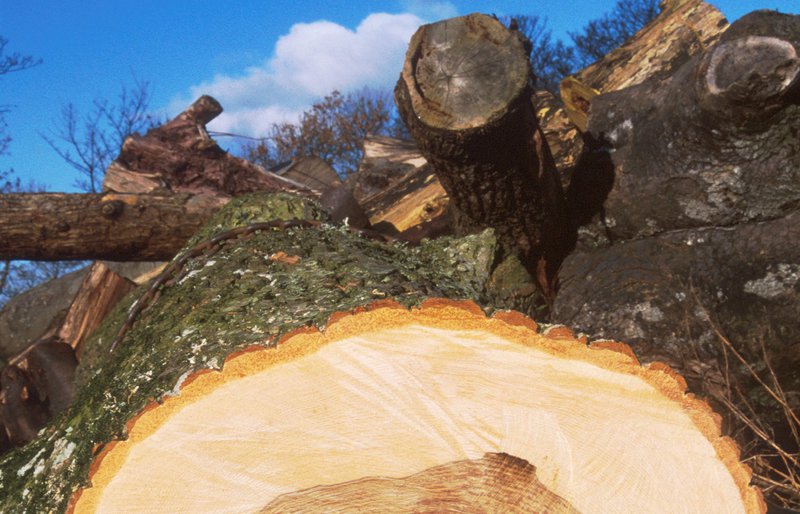
You will need to collect lots of long straight sticks. In most woodlands there will be plenty of fallen branches or trees which you will be able to collect. In deciduous woodlands such as beech and hazel these will not be 100% straight; in coniferous woodlands there should be many dead or felled (and much straighter) trees with which to work. Using your support structure (the fallen log, boulder, crook of a tree) start propping your collected branches and limbs against it to make a roof. With the fallen log this can be as easy a laying them alongside one another on one side of the log to make an angled roof. Aim to keep the angle of the roof between 45 or 60 degrees to assist shedding water. This creates a cosy den between the fallen tree and the roof you have created. To make this roof more windproof (and shower proof) then pile leaf litter on top which also has the added benefit of camouflaging your den making it stealthier!
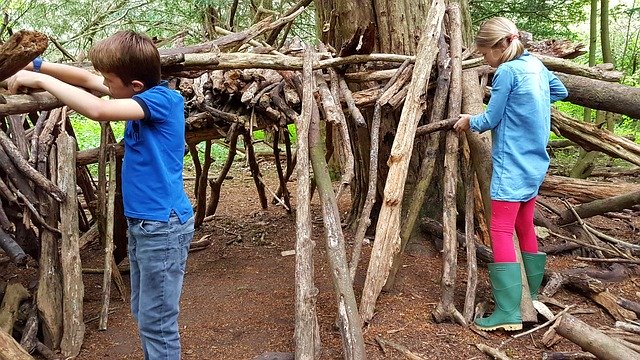
Inside the den needs attention too, if you want to make it comfortable and snug for use over several outings or repeated visits. Ideally you want to raise yourself off the cold and frequently damp British ground. Nothing ruins a well-made den more than a damp bottom. Preventing a cold seat needs more work to add the finishing touches to the den (hardened bushcrafters and mountain men of old insisted on building their raised beds before their shelters). A good seat can be a simple as a log or stump collected during the building of the den. More advanced options include making a raised bed of logs and branches laid in parallel and then topped with spruce bows, bracken or dried grasses.
The more challenging den to make is a free-standing one. Again, the clue to this is in the title – without a fallen log, or suitable crook in a tree then you may need to build a den that stands alone. The simplest form is a teepee. To make this you start with three long straight timbers. Spruce or pine are ideal – preferably much taller than the intended inhabitants of the den. Lay the three poles parallel to one another on the ground. Take a short piece of strong cordage or string and tie all three poles together near to one end. Stand the poles upright with the tied end at the top then gradually walk the untied ends out creating a three-legged teepee structure.
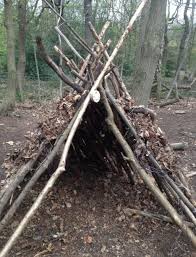
This should be sturdy and be able to stand freely. Once you have these first three key legs in position it is then a matter of collecting enough straight timbers to lean onto these original legs aiming to create a circular teepee structure while leaving a gap for a doorway. Once you have the base wooden teepee established, you then need to layer more foliage on top to create an insulative layer from wind and rain. Piling leaf litter or spruce boughs will do this rapidly. A top tip when collecting large quantities of leaf litter for adult sized dens is to use a large pastic refuse sack to aid collection and carrying the material to the den – as are some good gloves to protect your hands.

After all this work all you need to do now is settle in with some tasty autumnal snacks and treats to share with your fellow den builders. A thermos of tea, coffee, hot chocolate or soup on cold days – and mince pies the closer you get to Christmas!
